I mentioned in the last post or two about starting a beekeeping class (the official name of a beekeeper would be an ‘Apiarist’). We’ve been at it for about a month now and I’ve learned a lot about these amazing insects.
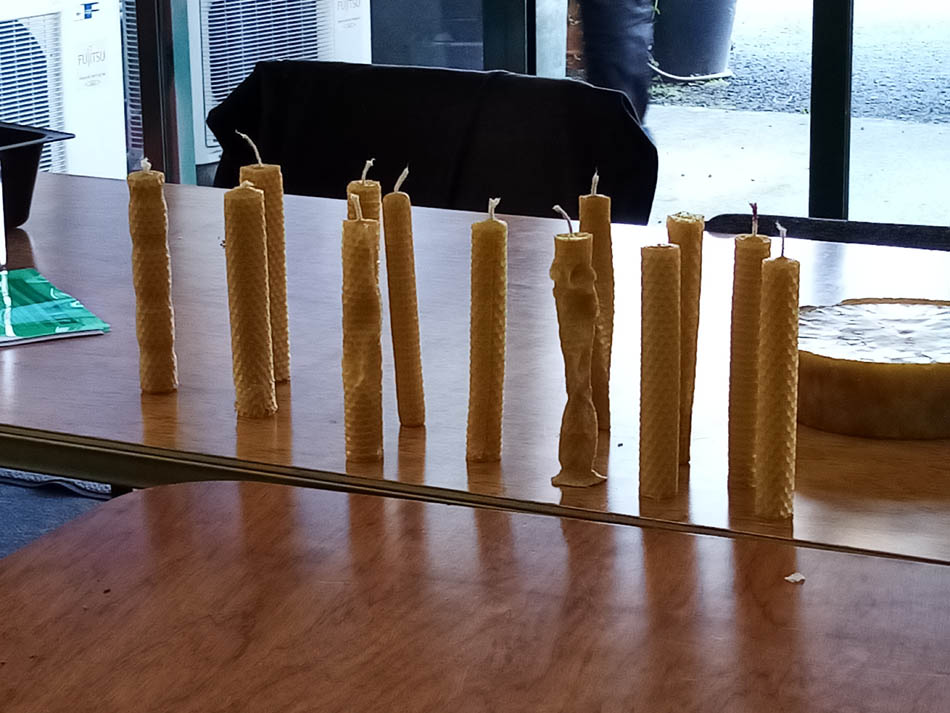
During our first class gathering, we got flat beeswax sheets and rolled our own candlesticks! The tighter you rolled it (or compressed it), the longer it would burn.
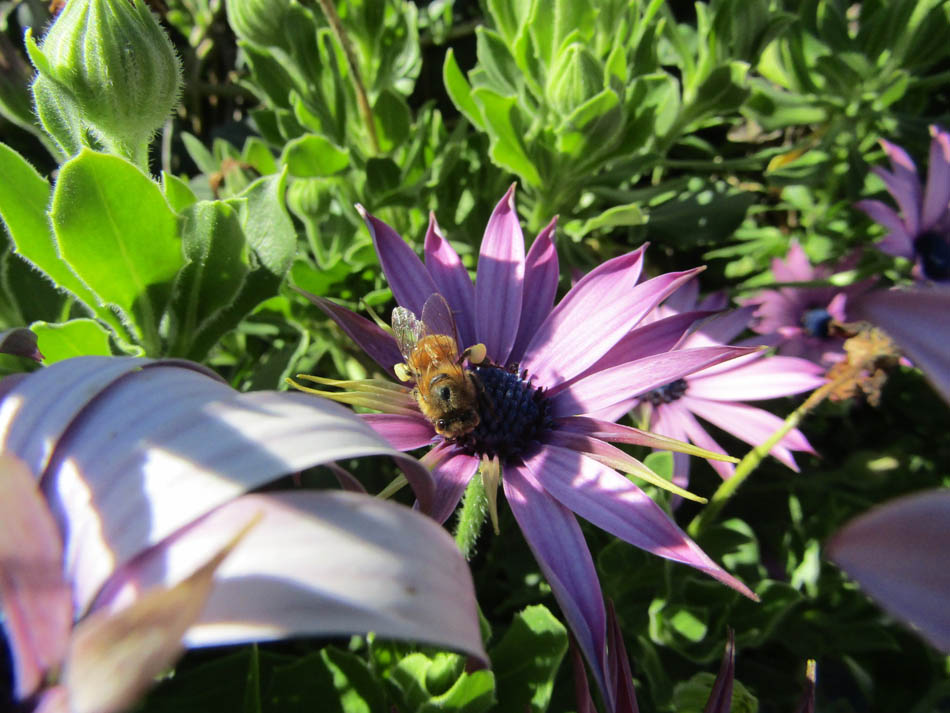
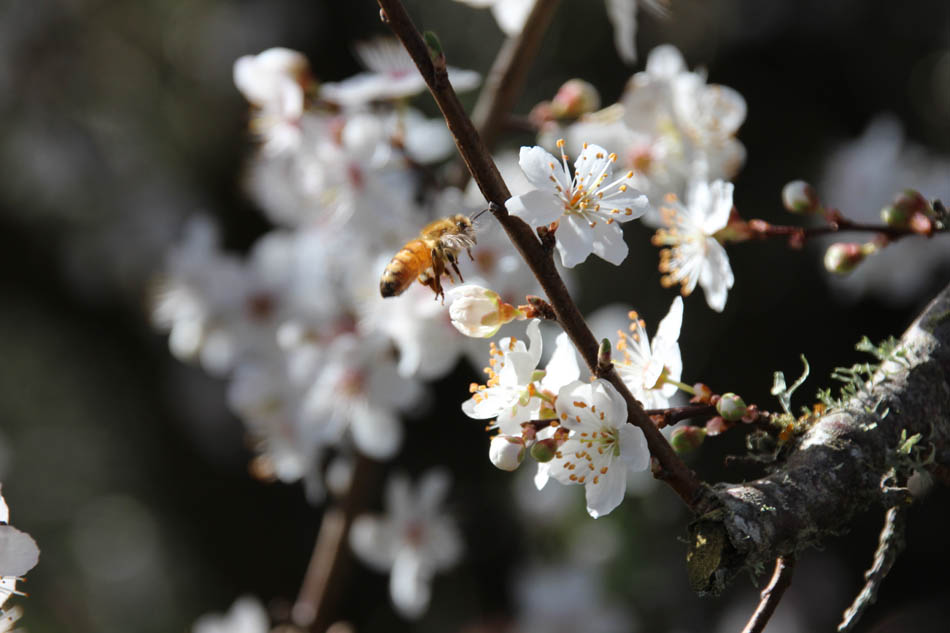
One of the first things our instructor asked us to do was to take a weekly picture or video of bees in action. I started noticing things I never had before. For instance, these purple flowers I have in my garden, the bees love them. When I started doing a video and watching the bee, I noticed tiny orange specs in the flower and the bee was picking them up. Her “thighs” were packed with this orange pollen (called pollen baskets). They brush it off of their bodies and transfer it down to their legs to take back to the hive. Pollen is used to feed the larvae (baby bees) and the rest of the colony. They store it and process it into honey. And of course, the pollen they carry around with them helps pollenate other plants.
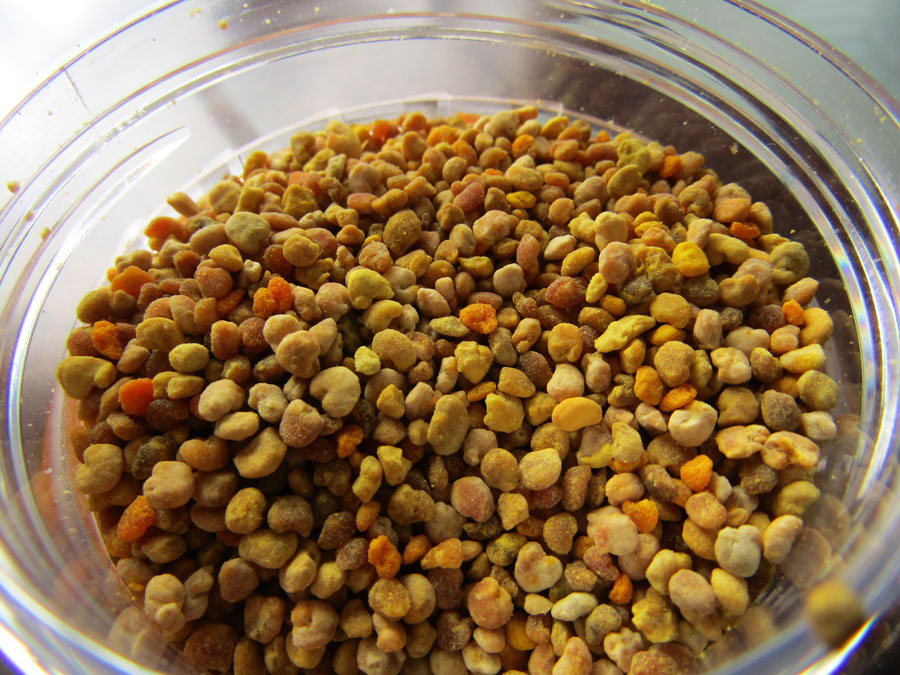
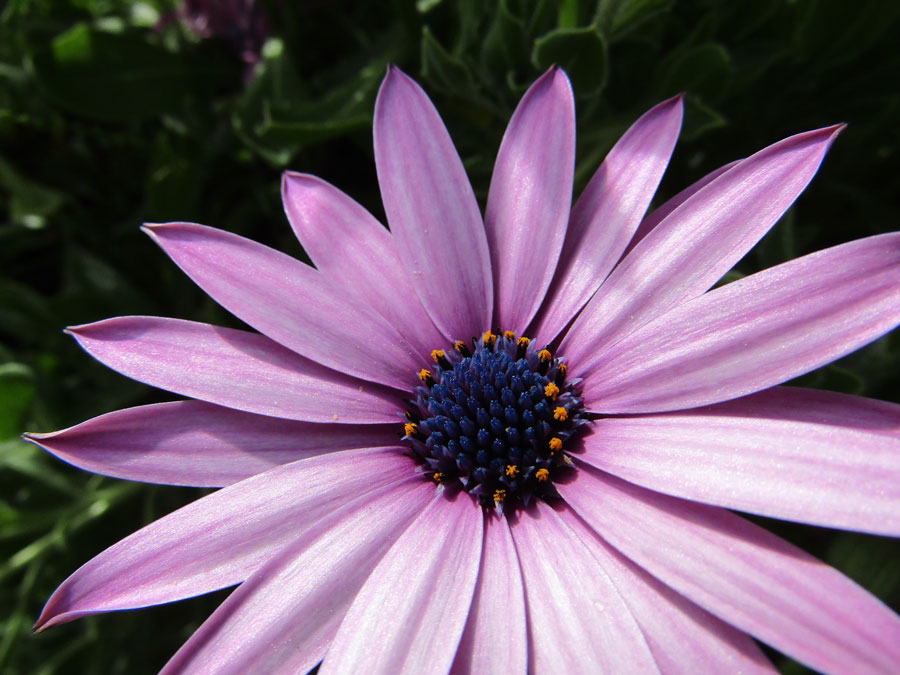
This is what dried (dehydrated) bee pollen looks like that you can buy and eat (it’s quite tasty). Cute how you can see where it was stuck to their legs by the small dent in each of them. Also, a closeup of that flower with the pollen they collect off of it.
I also learned that the drones, which are male bees, don’t do ANY of the work in the hive. They lack stingers and don’t forage. Their goal in life is to mate with a female queen bee. And here’s the gory part – after mating, their penis gets ripped out and they die. Yowch. What a life (and death)! Drones don’t have fathers, either…the queen bee creates drones from an unfertilized egg and they take a little longer to develop than females. Wild!!

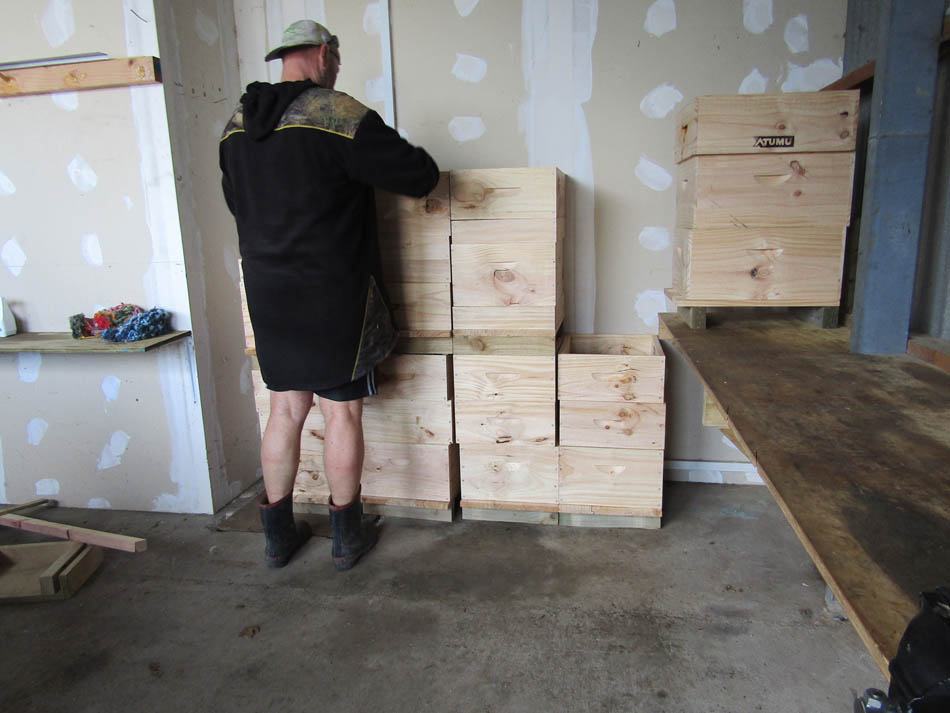
We started building our hives over the next few weeks, starting first with the brood boxes (where the bees live and reproduce), the super (where the honey is stored), the frames (where the bees create the cells to rear young and store food) and the base that all of that sits on. Looking back on all of it, what we should have done was waited to initial our pieces until we had gotten some practice putting them all together! We would’ve had a much better box without mistakes. Oh well…live and learn! He said our boxes should be usable for the next 10 years.

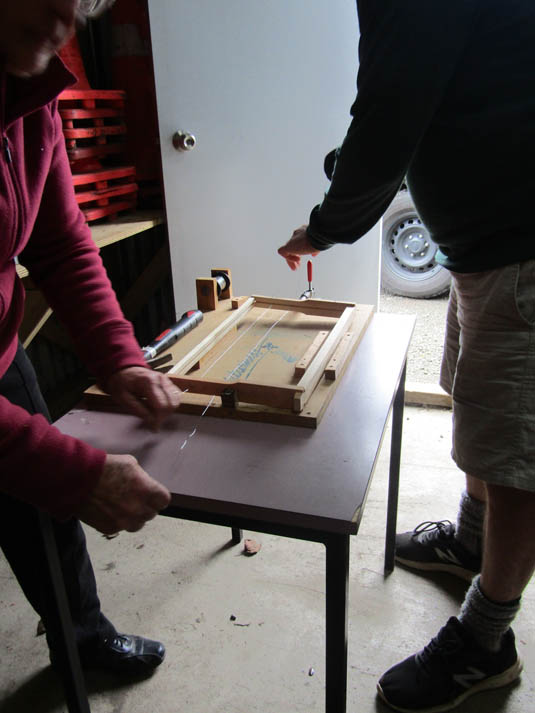
The following week, we put together the frames where the bees build their comb. That was pretty simple, just glue and hammer the parts into place. The hard part was wiring them. Us oldies in the class had to get our glasses out to thread through the thin wire. You put it into a homemade contraption which squeezes the frame together and thread the wire through, nailing down the ends after tightening them. It sounds like an untuned yukelele when it’s done. After that, we’ll eventually “fuse” the foundation of a thin sheet of beeswax (like what we made the candles out of) by heating the wires which quickly melts it into place. That gives the bees a headstart on building the cells onto it.
The week after that, we all hopped in the van and headed to the EIT campus in Napier to dip the hives in boiling hot paraffin and paint them up!
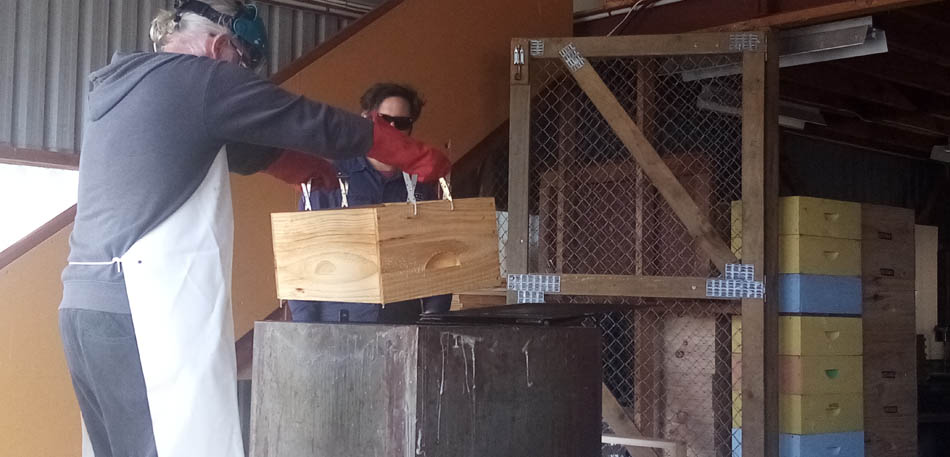
You could fit a couple boxes if they were small plus the top super in at once to save some time. It takes around 10 minutes to do that and it seals up the box, essentially weatherproofing it. It’s important to keep checking the temperature of the wax because if it gets to 200c, it’ll catch on fire and explode. Not the kind of waxing you want on your body. We were wearing protective gear while doing this.
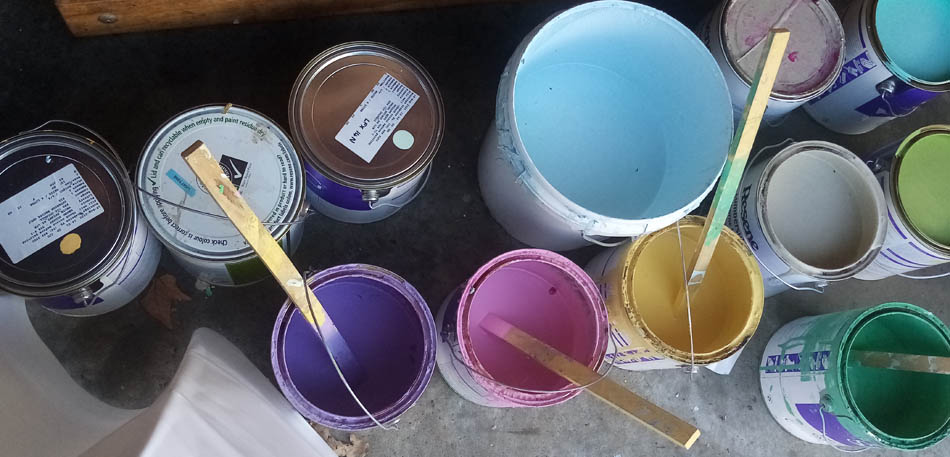
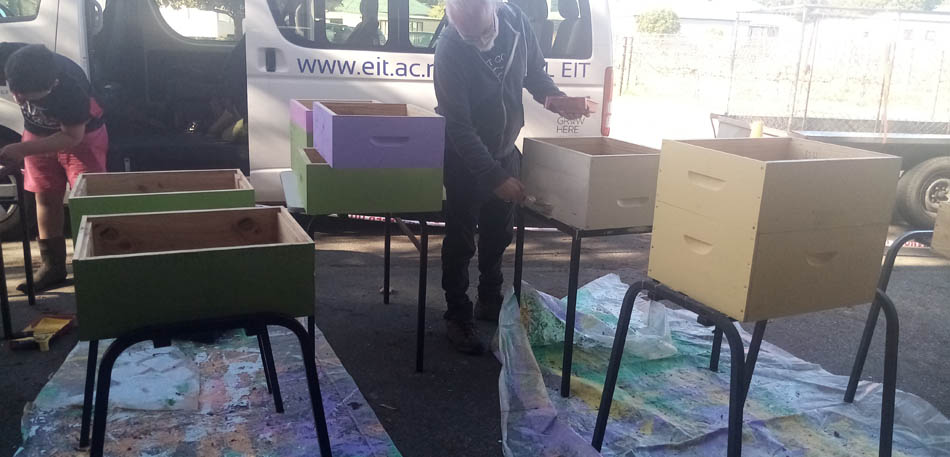
You paint it while it’s still hot with water based paint (who’d have thought it would stick!?) and it dries really fast. We put 2 or more coats on each box.
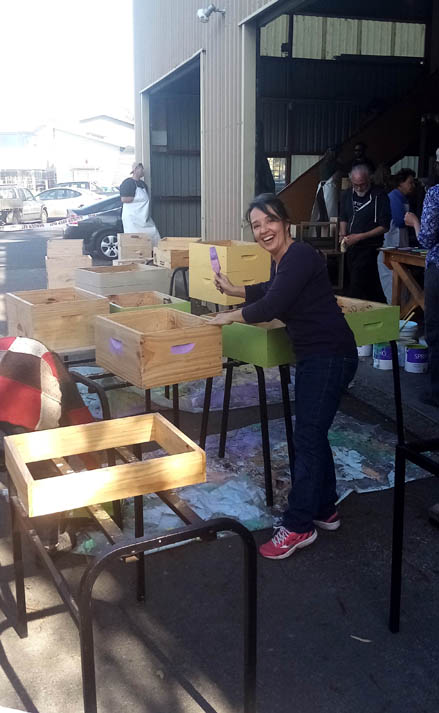
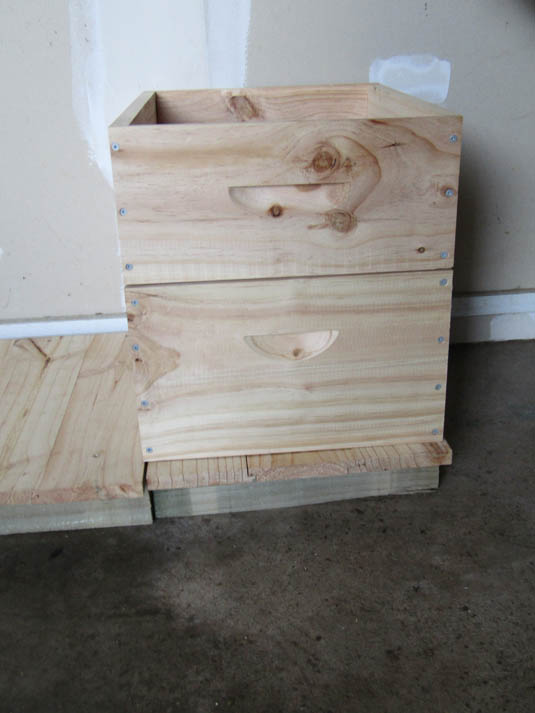
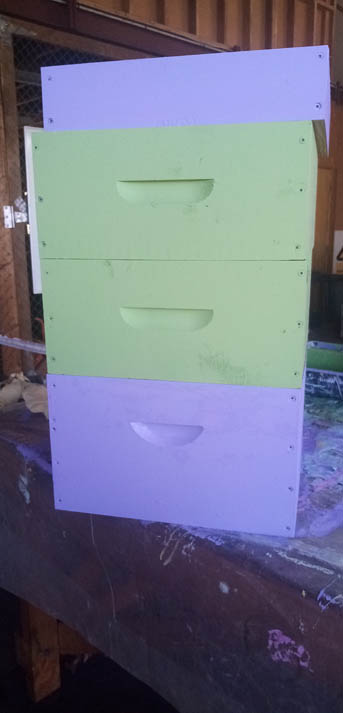
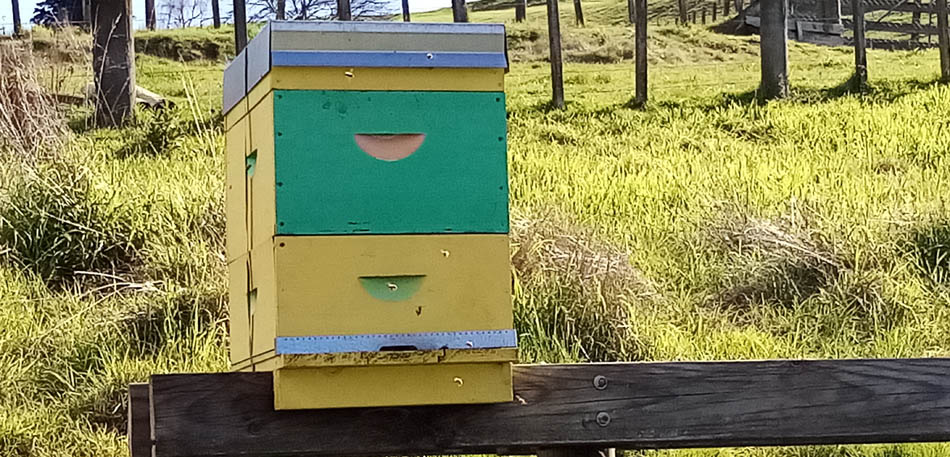
This was mine when it was done.
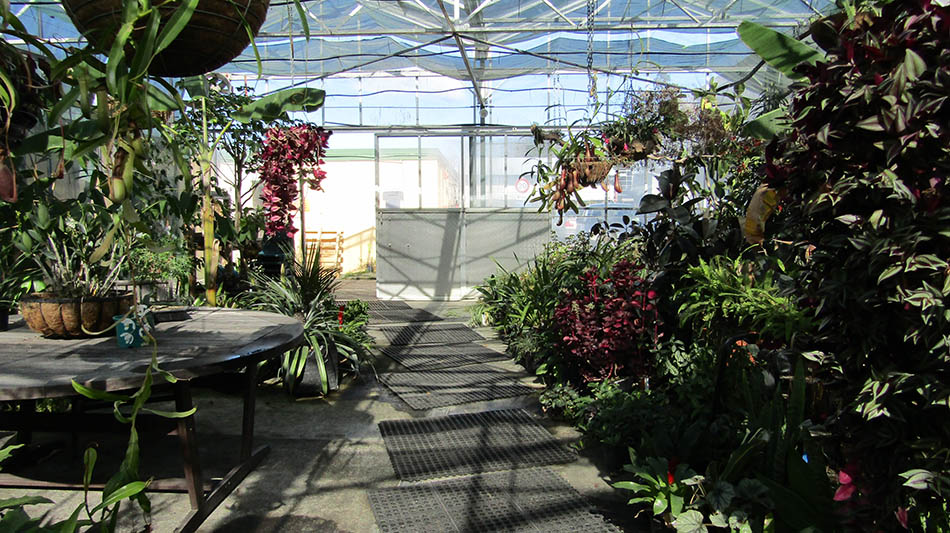
Before we did all of that, we took a tour of the campus and got our student ID’s printed and looked at the greenhouses. It was a pretty big campus (I’m surprised I haven’t had any nightmares about not finding my classroom or showing up 2 months late on the day of a pop quiz). We were painting next to a little vineyard and winery. Against all odds, I didn’t wander into the winery for some reason!

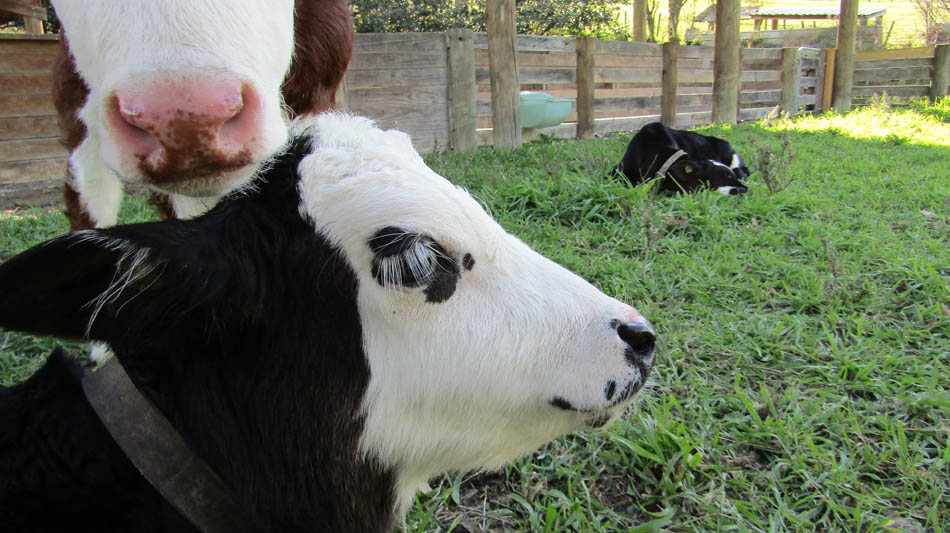
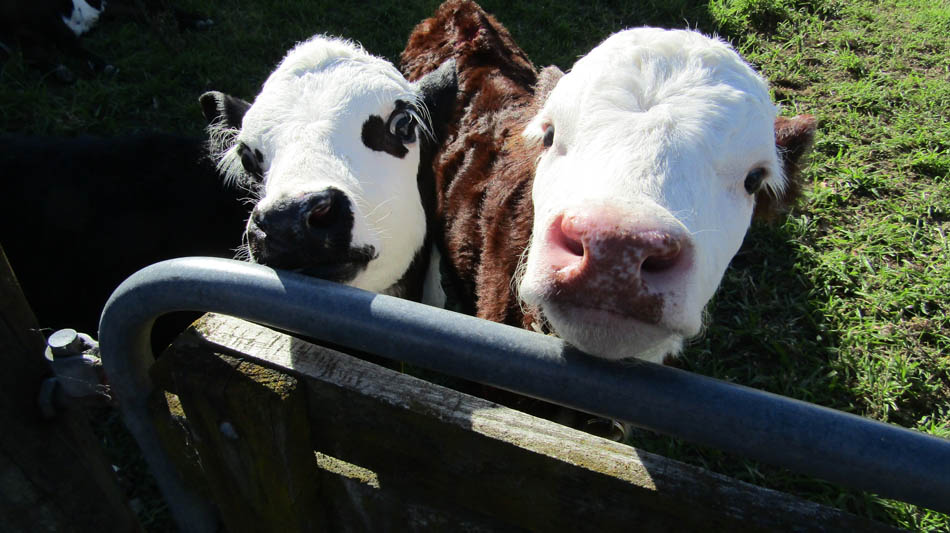
There were some calves up by the beehives that we went and gave some scratchies to.
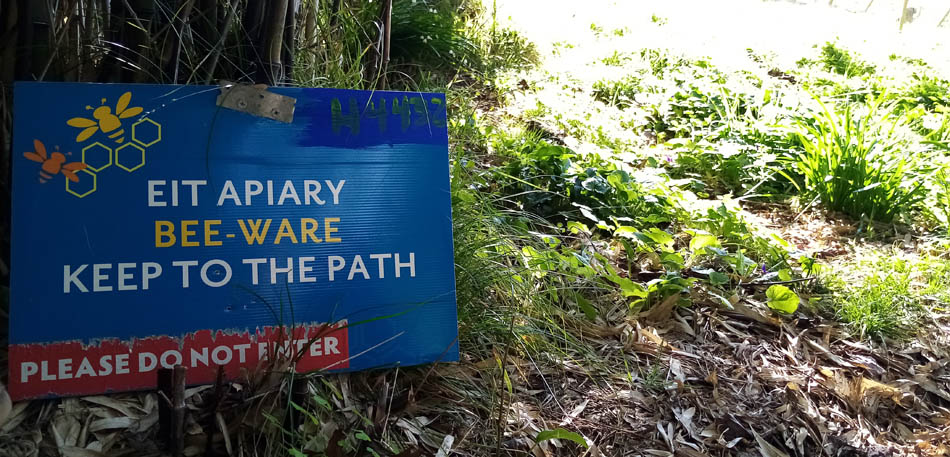
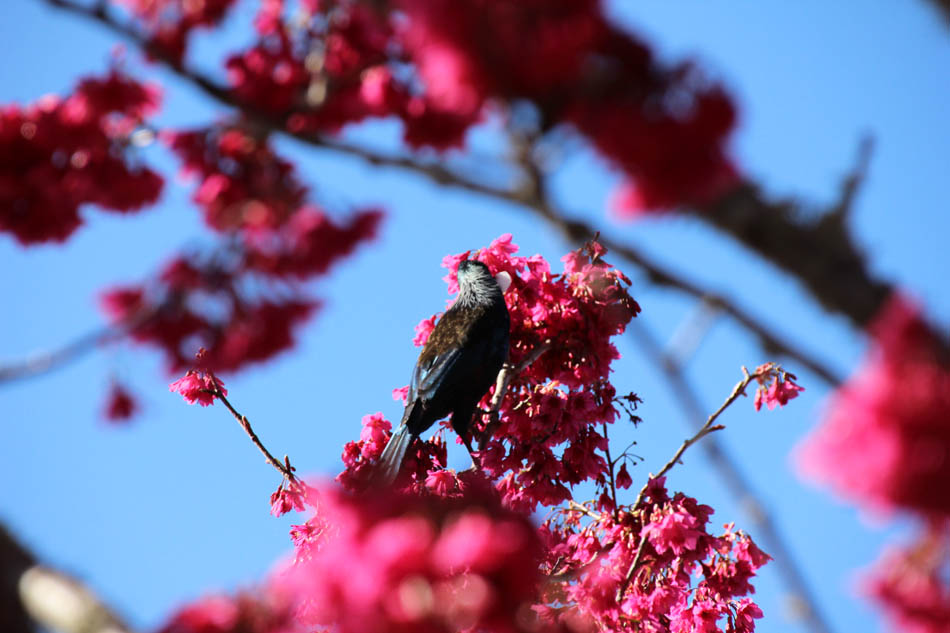
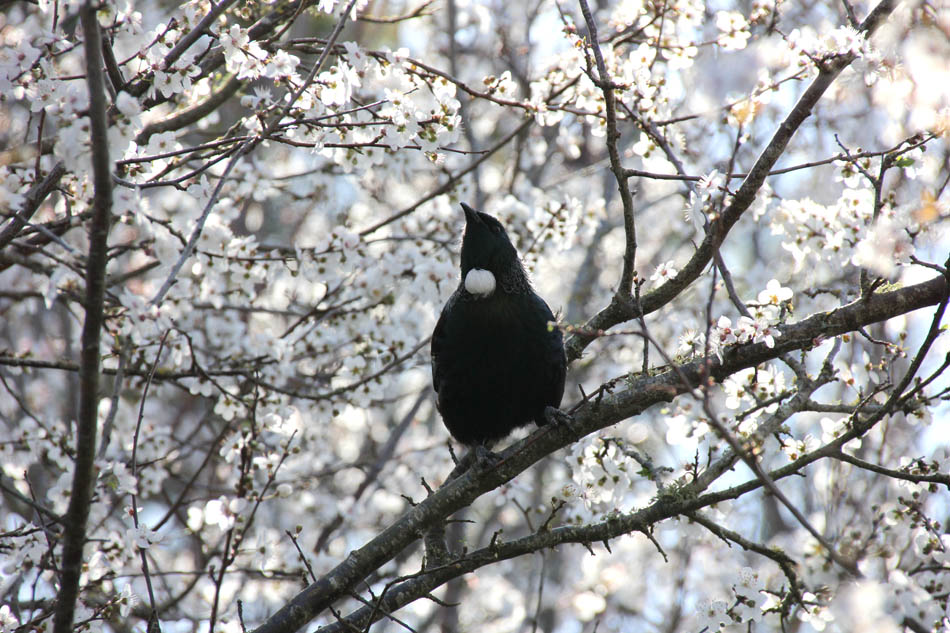
Next week, I think we’re going out closer to home to visit the site where we’ll be keeping bees. We don’t have our suits yet but we have to learn about positioning and planning on where to place the hives. Because it’s almost Spring here, things are starting to bloom and the trees are full of pollen. The bees are starting to get more active everywhere! We went to the memorial park the other day and tons of Tui’s and bees were in the trees.

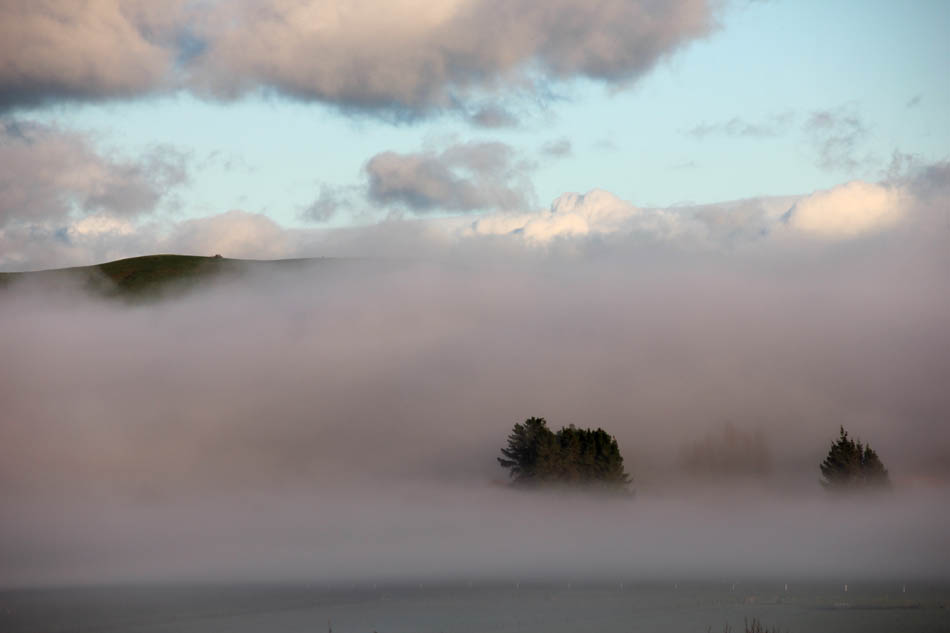
Finally, a lovely foggy morning made for great pictures!

I’ll be updating the beekeeping adventures as they unfold!
So interesting! Love the bee pollen bags pic.
Thanks! Those are what I call “fat thighs” in layman’s terms lol!